
IT'S OFFICIAL!! I'M INSANE - I got this idea a couple weeks ago and since I couldn't shake it, decided to run with it. My friend, Susie, is having a BIG birthday. I'm sharing the card I made for her.
This month I'm playing along again with Karen Burniston's monthly challenge. The theme this time is for the team to show a card for each month of the year. I decided to go with a card that could be used for any month, "Birthday".


I used the Katie Label Accordion Die but needed more real estate since I had to
add 70 candles.
Here's how I did it!
Don't ya just love this stamp from Art Impressions? She is priceless. I colored her with Chameleon Markers. The card base, trim papers & ribbon are all from
Stampin Up, Baja Breeze and Rich Razzleberry along with various colors and papers from my scrap stash.
Stampin Up, Baja Breeze and Rich Razzleberry along with various colors and papers from my scrap stash.
I mixed and matched my KB die sets getting the shapes & sizes I wanted.
Here are the dies I used -
Katie Label Accordion 903
Katie Label Pivot Card 768
Agatha Edges 782
Outdoor Edges 914
Happy Birthday PopUp 947
Candles 732
Here are the dies I used -
Katie Label Accordion 903
Katie Label Pivot Card 768
Agatha Edges 782
Outdoor Edges 914
Happy Birthday PopUp 947
Candles 732
Karen is so good at sharing tips and tricks for using her dies in different ways and I love that. She has shown how to double the accordion albums but I didn't want more space on the accordion, I needed it around the outside.
Because each panel is finished at 41/4" wide with a 1/2" tab, I cut my panels just under 4 3/4" X 81/2". I then marked each panel lightly with a pencil at 1/2" from the top and 1" from the top.
Since I made my lines so faint on the blue, I made a white one just for this tutorial.


Next I lined my die up on the 1" mark. The die will straddle the paper.

I taped my die down with tape so it could not move.

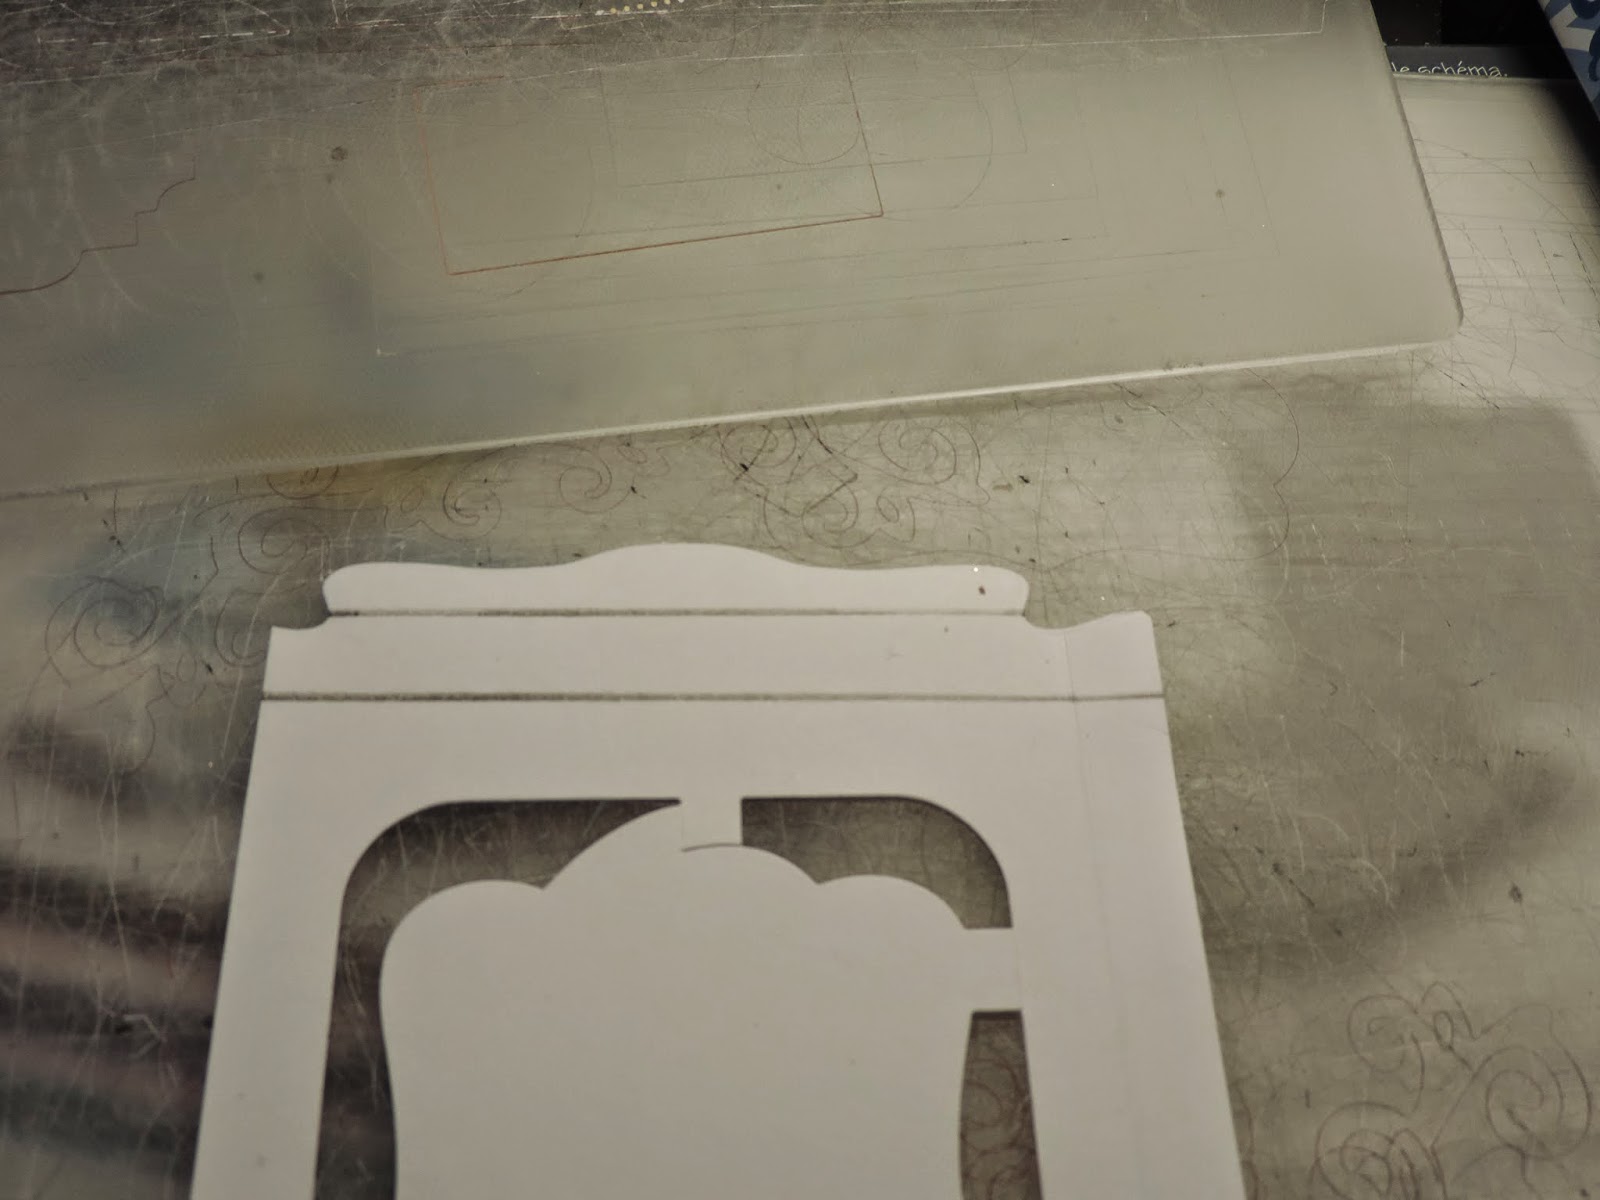
Next I used a narrow cutting pad that I cut down from a larger one that I got from Sizzix, these pads can be cut to any size you need. I then placed the pad on the die avoiding all the outside cutting edges, this way I only got the crease mark and inside section of the die. I used the Big Shot Pro and had a pad that worked but you can do this with a regular Big Shot by cutting your pad small enough to go through.

I then placed the panel on the score board and continued the crease line to the top and bottom and then cut the tab at an angle.

Because I wanted a fancy edge, I took the Agatha Edge die and placed it in the center along the 1/2" line and ran it through the machine again to get the edge I wanted.
After erasing the lines I have a great panel - now I did this 3 more times.

I now have 4 panels that look like this.


Of course I needed a special phrase for this one so I printed what I wanted on the computer and then cut the words out using the dies.

For the top edges, I used another Agatha Edge and cut it down to fit.

Next came the candles - 70 no less.

Now the hard work is done, I added all the finishing touches and was good to go.
For the front flap I used a panel that was 81/2" by 41/2" with an additional 1/2" tab (total of 5" wide) so it would cover the card completely.
I hope you have enjoyed my moment of insanity - I have already given Susie her card and she loved it!!
Have a great week and don't forget to stop by at Elizabeth Craft Designs on Wednesday to see what the design team made.
No comments:
Post a Comment
I love hearing from you - thanks for commenting.